Styles (Formatting)
What are the Format options?
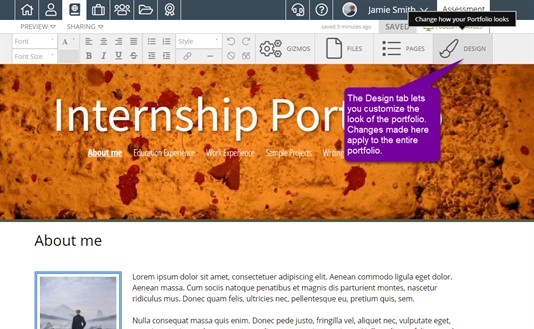
Several aspects of any box you select can be adjusted using the tools in the Styles area of the Design tab. You have the ablility to change the background color and transparency, the border, margins, corner shape, and shadow of any boxes in the portoflio. These features are only available with a custom template and can be found by clicking on the Design tab in the portfolio editor tool bar.
Structure of the Styles Tab
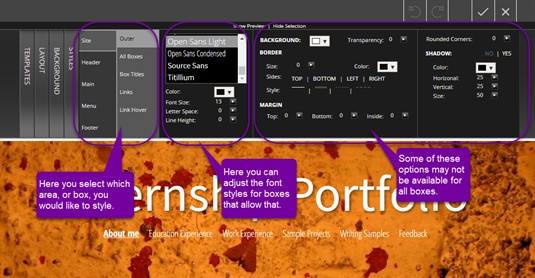
On the styles tab, you can select the box on which you would like to work, make changes to the fonts, and edit the background, border, and shadow of that box. The font area is only available for editing when you have selected a box that can contain text.
Format Options
There are five main formatting options for boxes on a custom template. Each one can be set independently for each box in a portfolio, or you can set them for the entire portfolio. If you select a particular box and area of that box, these values will be determined only for that box and area. If you select Site and All Boxes, these values will be set for all boxes in the portfolio.
Border
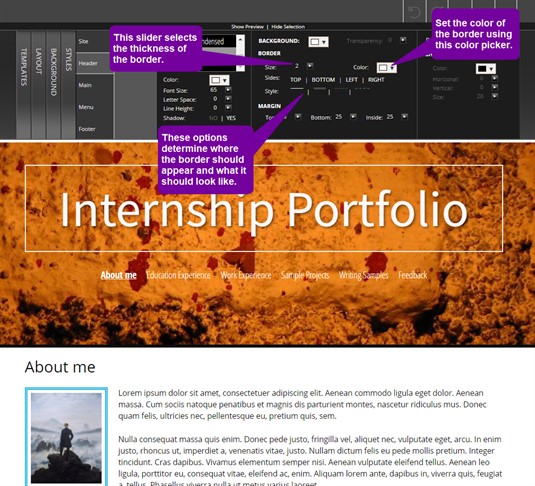
The border setting allows you to add a border around the selected box. To make the border appear, select a color for the border, then change the size using the slider. You can choose which side(s) of the box you would like the border to appear and select from one of the four styles. You will instantly see these changes in the Preview area at the bottom of the screen, allowing you to make adjustments and see how they look.
Margin
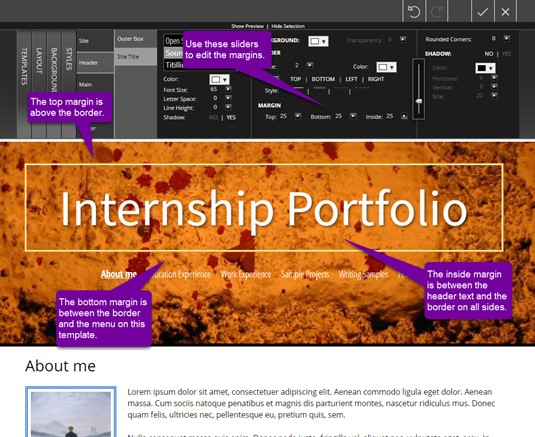
The margin settings allow you to adjust the spacing around or inside a selected box. The top margin places more space above the box. The bottom margin increases the space below the selected box. Changing the inside margin, changes the space between the outside of the selected box and any text or other boxes that may be found inside that box. This image shows the margin areas for the Site Title box.
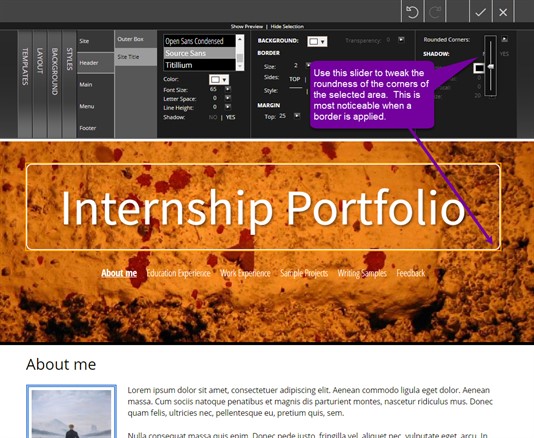
Rounded Corners
This feature allows you to determine the roundness, if any, of the corners of the selected box. This is adjusted using the Rounded Corners slider.
Shadows
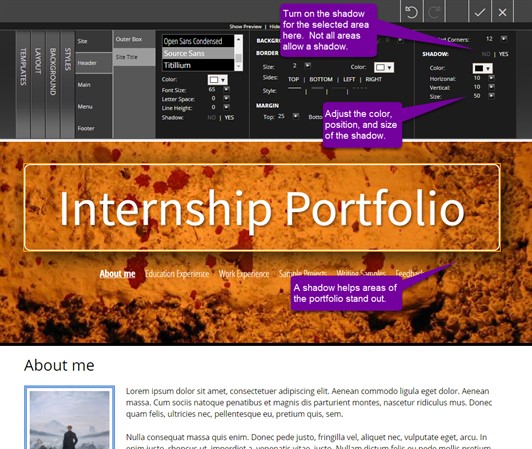
This feature allows you to place a shadow behind the selected box to provide some depth to your portfolio.
With this tool you can select the color, size, and horizontal and vertical position of the shadow. To turn the shadow on you must click YES in the shadow section of the formatting area. Then you can set the color, size, and position. Clicking the arrow corresponding to Horizontal, Vertical, or Size will open up the sliders used to change these values. By changing the selections you can try out different combinations and view them by clicking the Show Preview button above the Design tab. If you decide you don't want a shadow, simply click No in the shadow section and the shadow will be removed.
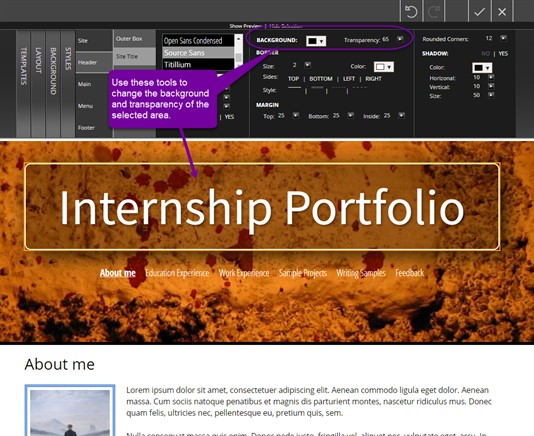
Background
The background setting allows you to select a color for the background of the selected box. By clicking on the color box next to Background, you can open the color picker and select the background color you want. Using the Transparency slider, you can adjust the opaqueness of the background color.
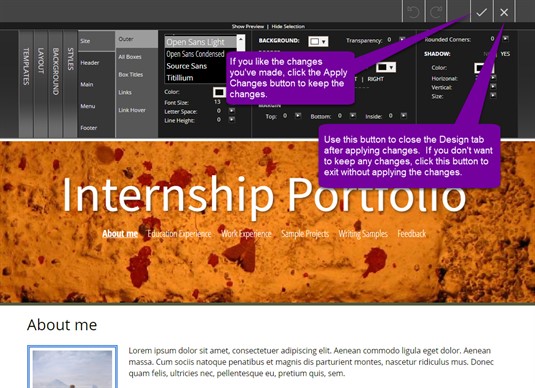
Applying your Changes
Once you are happy with your selections, click the Save button in the upper right corner of the screen to keep your selections. You then need to click Close to return to the editor. Clicking Close without clicking Save first will remove any changes you have made and return you to the portfolio editor.
