Creating a Project
Projects can be built for personal use, professional use,
or educational use. If you are building a project for a course or
community, check out our Community Projects
page.
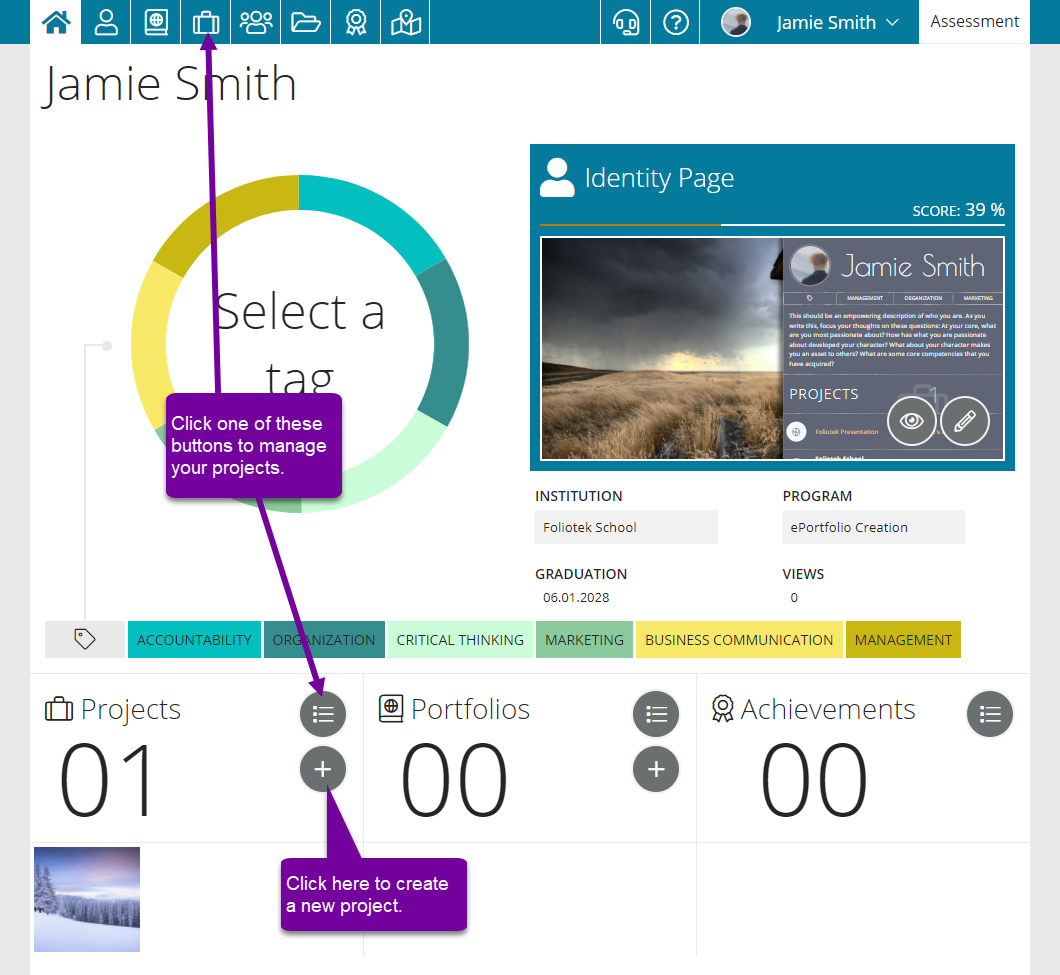
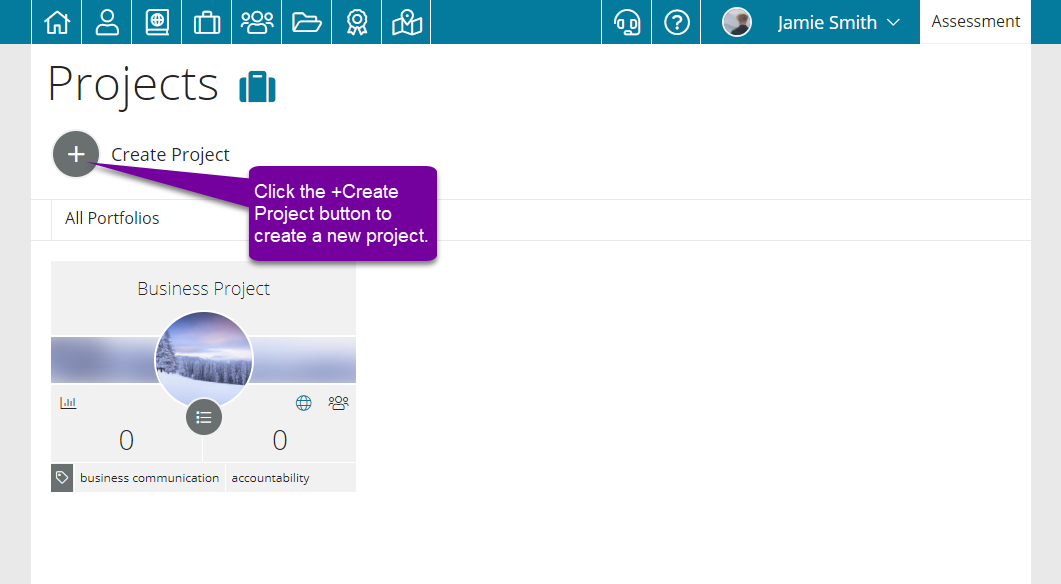
From the Project Management page, click on the Plus icon to create a project.
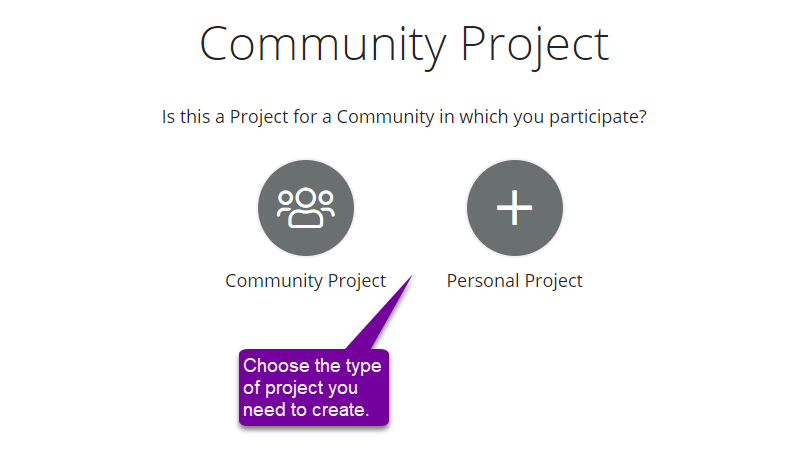
On the next screen you will need to determine whether your project is Personal Project or a Community Project. Community Projects are usually templates set up by faculty members and would be used to complete a course assingment. In this example, we are creating a Personal Project. Be sure to check out our Community Projects page for more information on creating community projects.
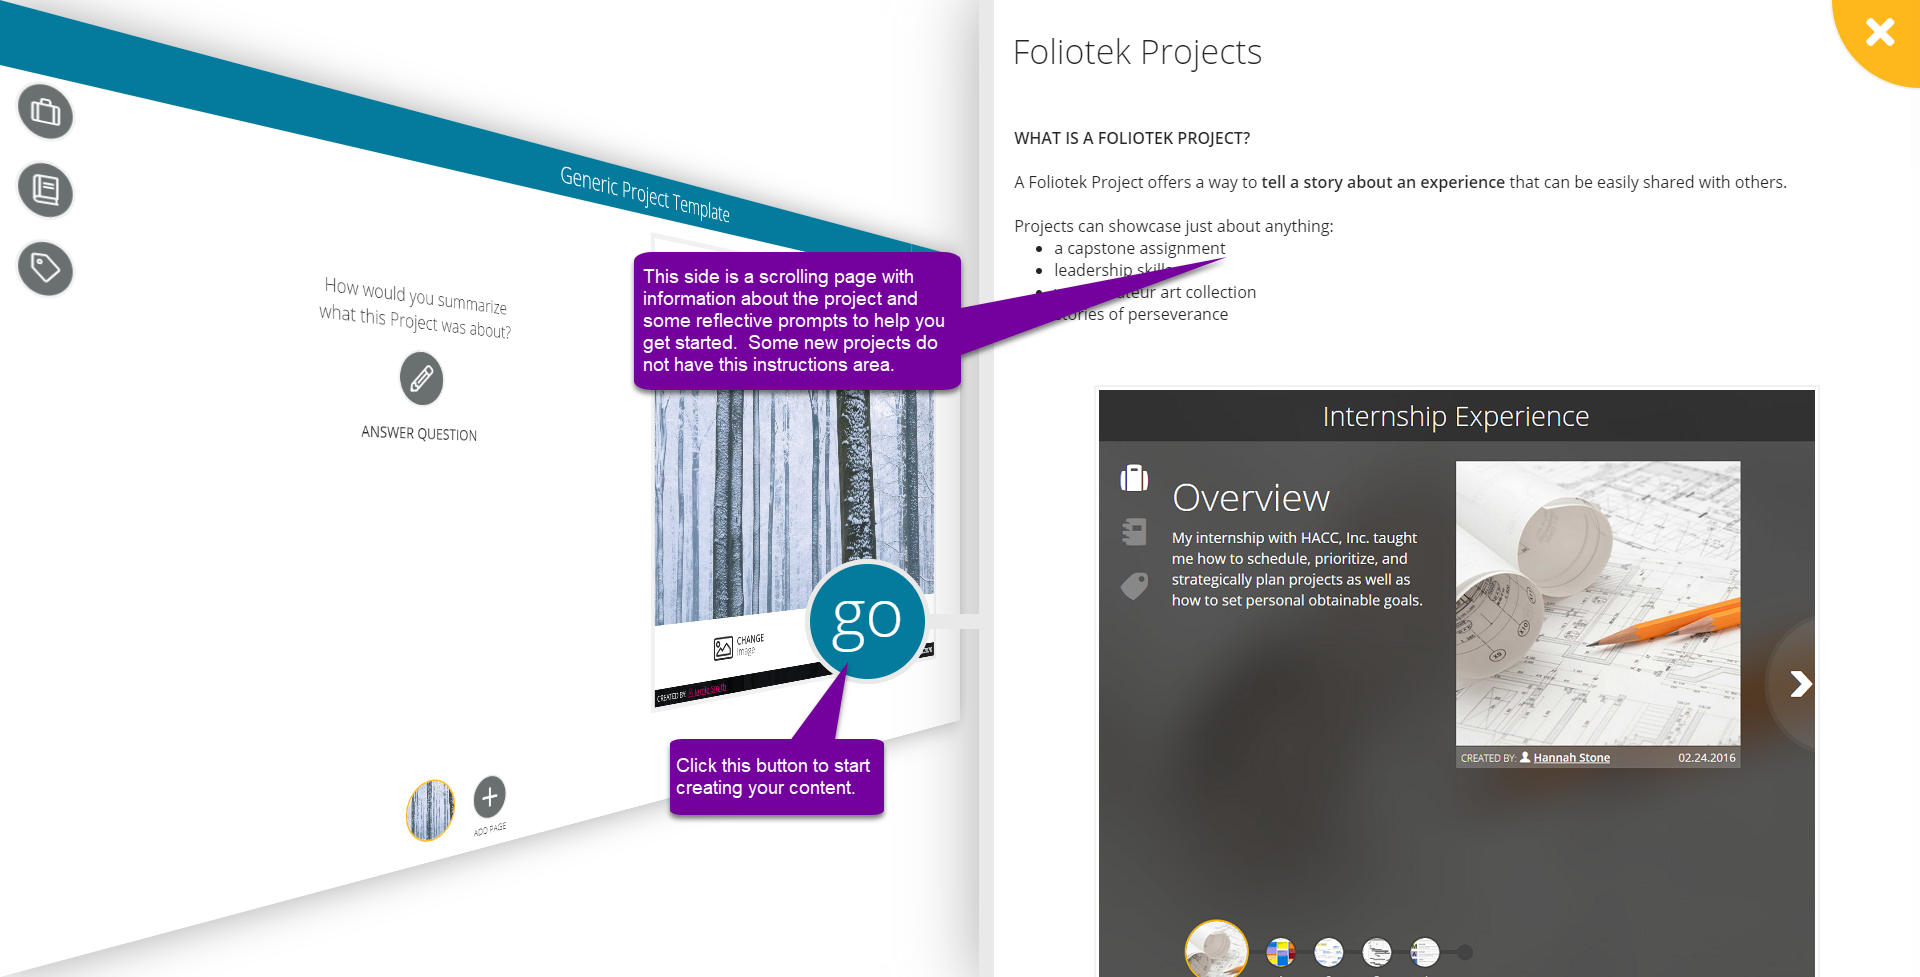
On the right-hand side, you will see an introduction to Foliotek Projects. In this information you can find tips for building projects and reflective prompts to help get you started. Once you are ready to work on your project, click go. You can always access this page again using the Notebook icon that will replace the go button.
More Information
Congratulations on setting up your first project! You still have a lot of work to do so be sure to check out the pages below to start adding content and customizing your project. Remember, you can always edit your projects by going back to the Project Management page and clicking on the Pencil icon in the Actions Menu for your project.