File Manager
What is the File Manager?
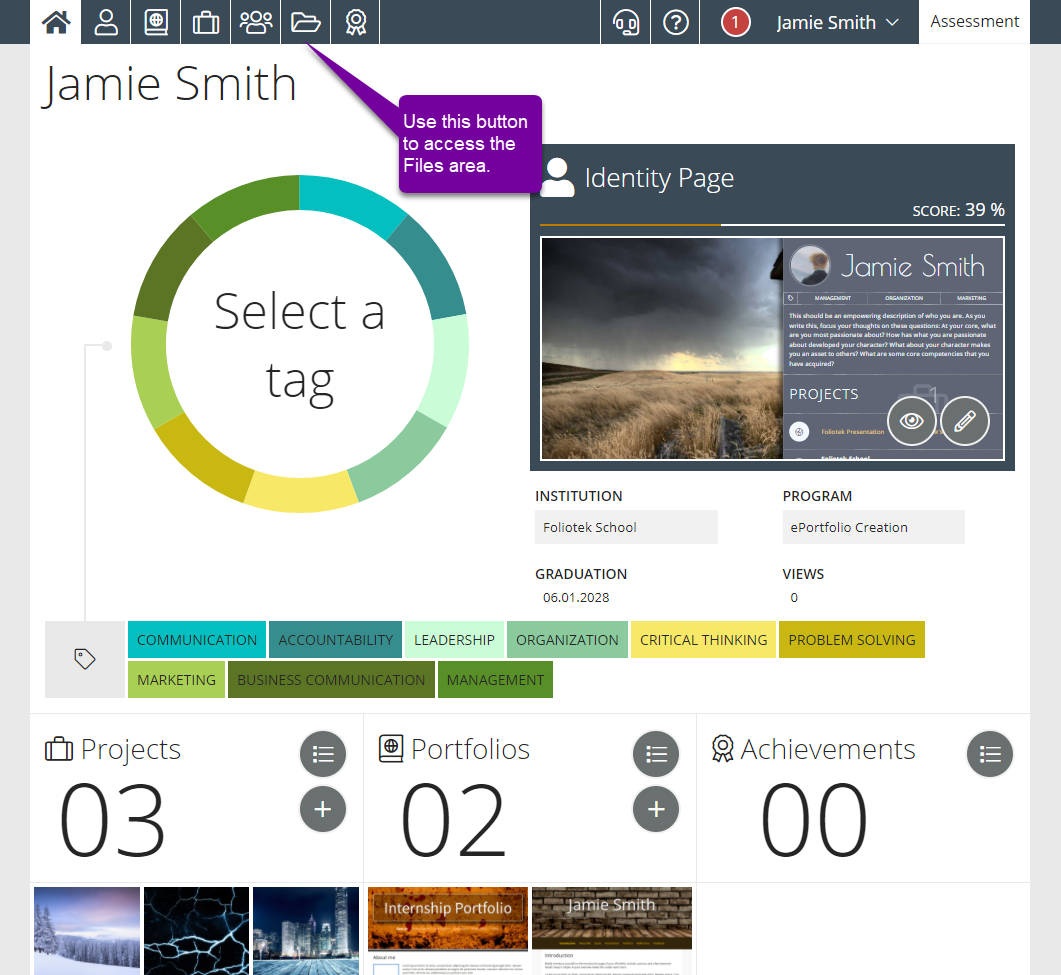
The file manager is used to upload and organize the files in your Foliotek Presentation account. With the manager, you can upload new files, create folders and subfolders, place files in folders to better organize your files area, download files to your computer, search for uploaded files, determine the amount of storage space remaining in your account, and remove unnecessary files. You can access the file manager by clicking the File Folder button in the top navigation bar at any time.
Management Tools
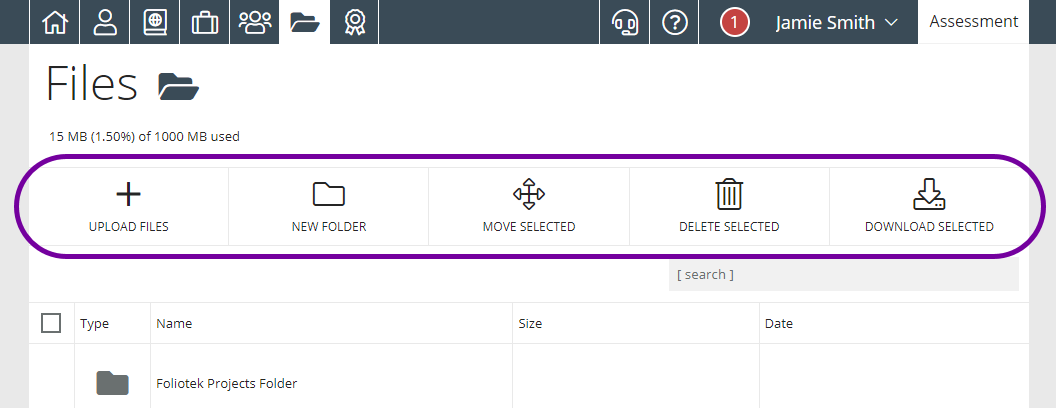
There are several management tools available in the File Manager. They are located at the top of the screen just below the navigation bar.
Uploading a File
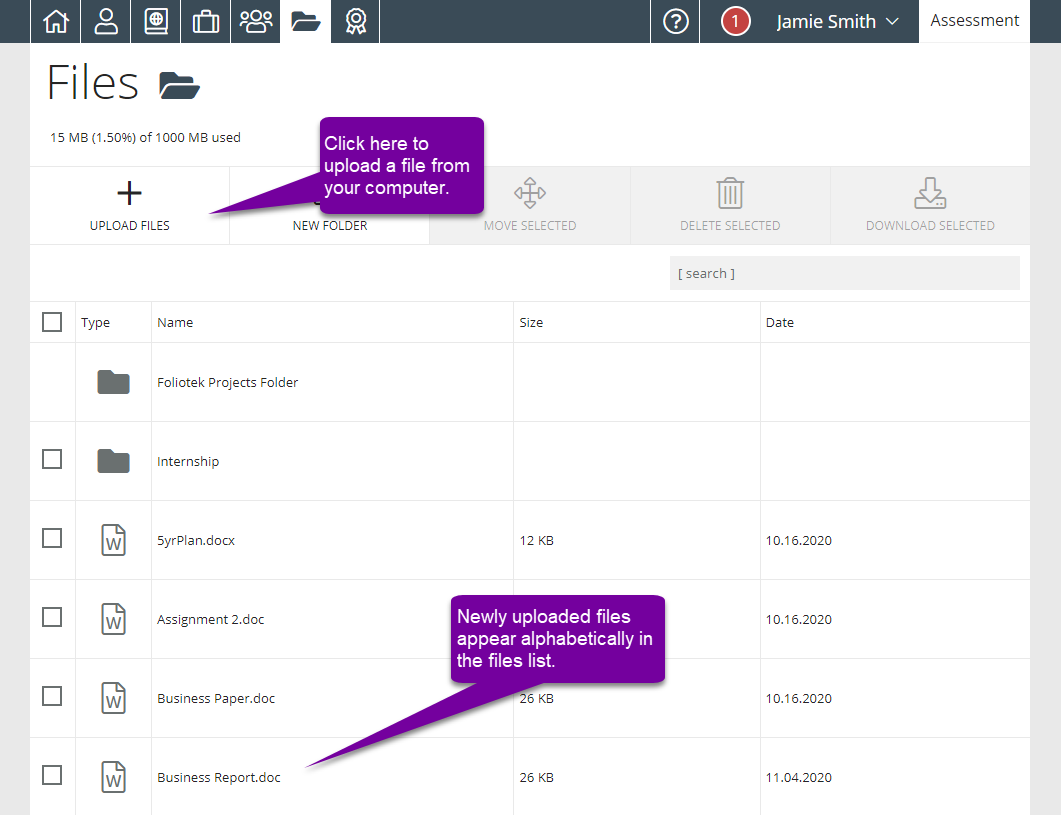
To upload a file, click the Upload Files button on the left hand side of your screen. When you click on the upload button, a browser will open up and you will be able to search your computer for the file you need. Once you select the file, click open and the file will appear in the list of files on your screen.
Creating a New Folder
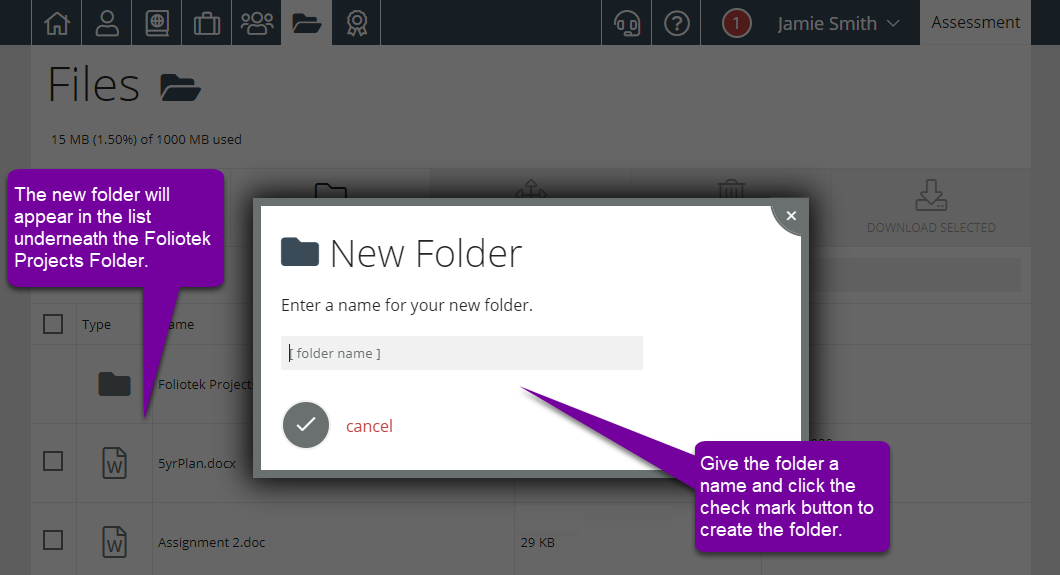
Creating new folders is done by clicking the New Folder button in the managament tools area.
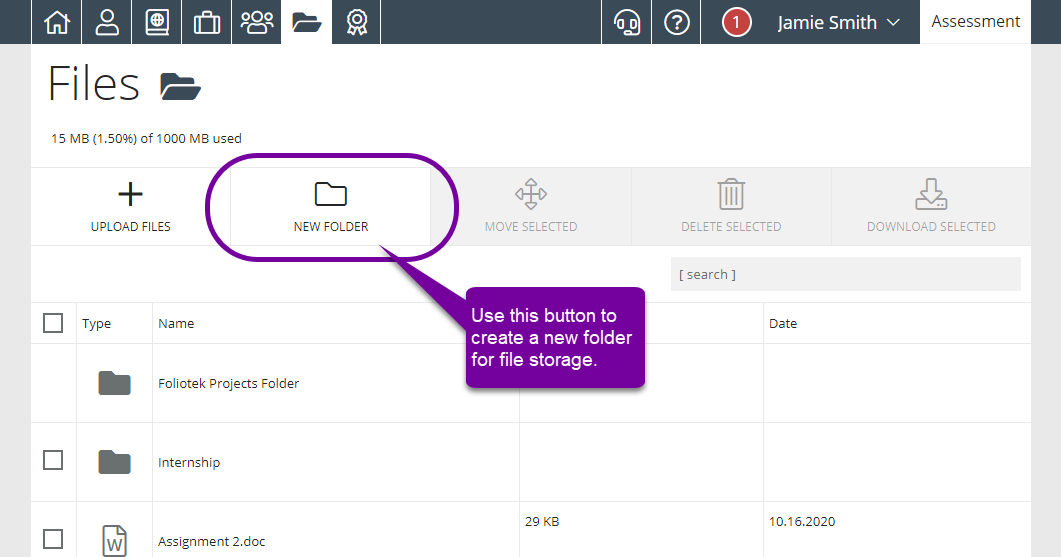
When you click the button, a small window pops up and asks you to name the folder. Clicking OK places the new folder alphabetically into your folders section. You will see it appear instantly.
Opening Files and Folders
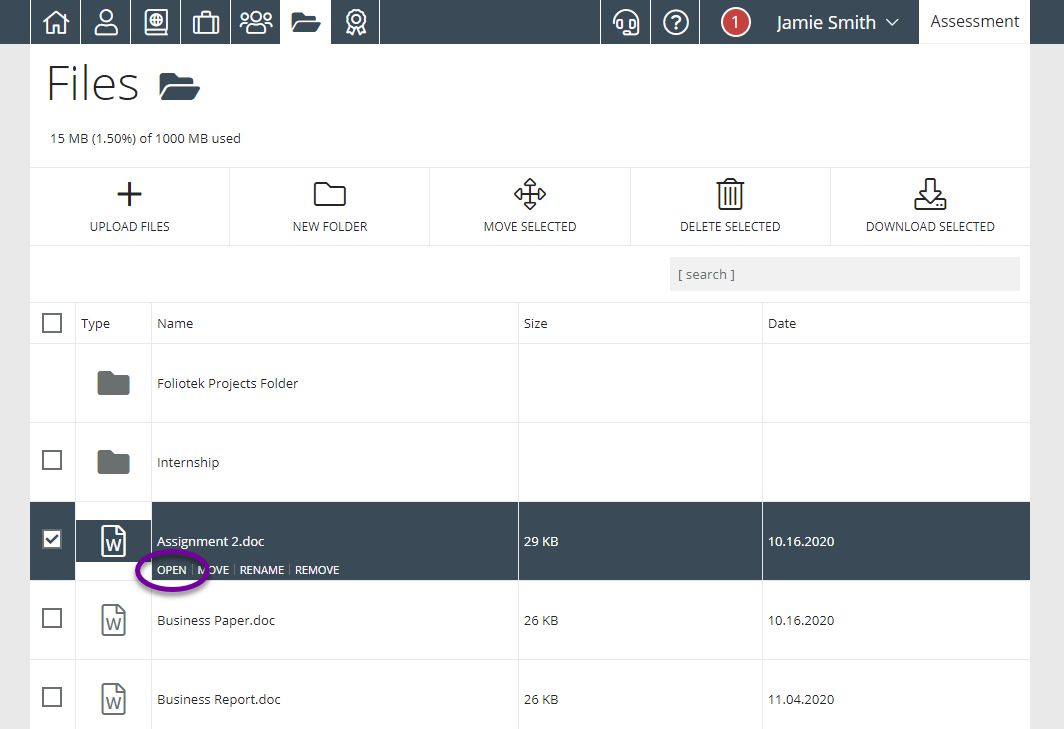
To open a file, you must first select the file you want to open by clicking on it. Once this is done, the link to open a file appears under the file name. Click this link and the file will open.
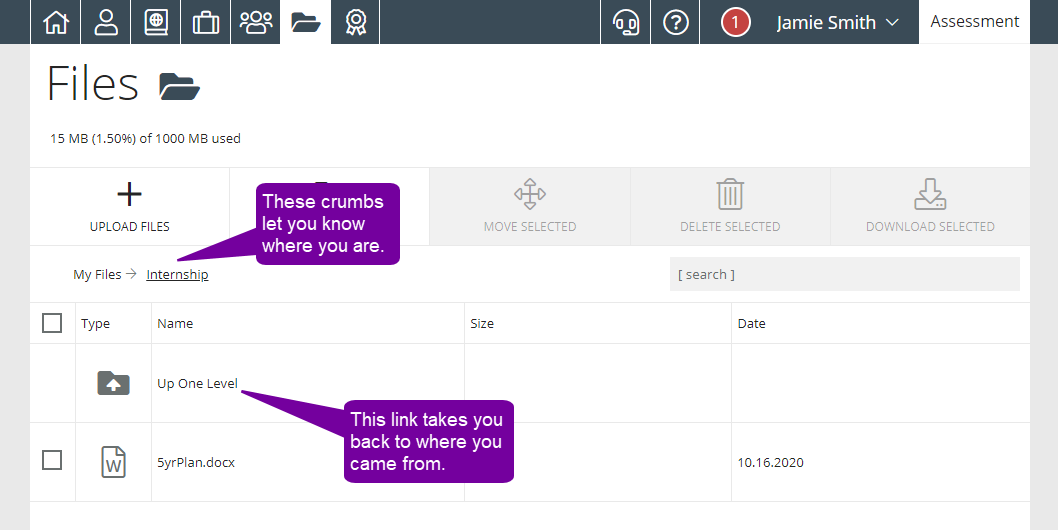
To open a folder, simply click on the name of the folder. The contents of the folder will then be listed. To return to the main files area, click the Up one level link. If there are several layers of nested folders, clicking Up one level will eventually get you back to the main files area. You can tell how deep you are into your folders by the crumbs list at the top.
Moving Files and Folders
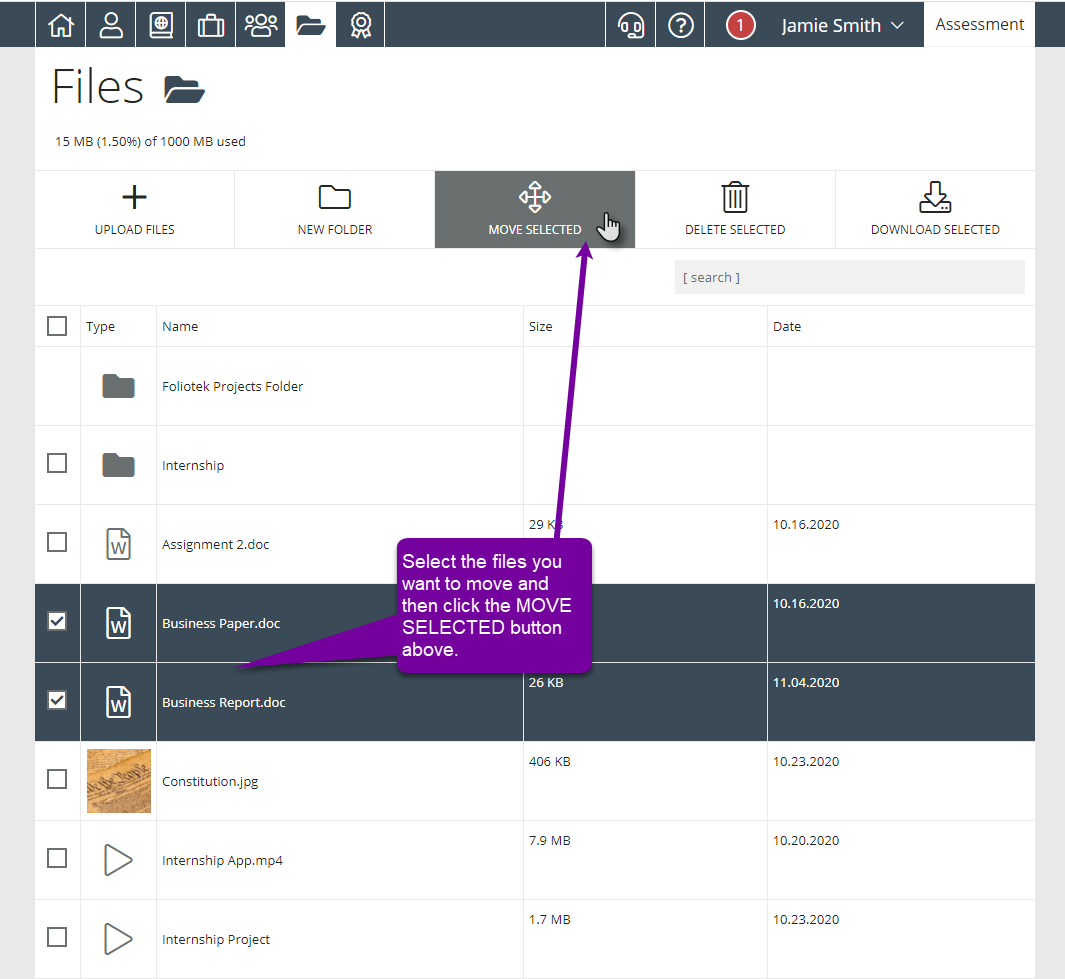
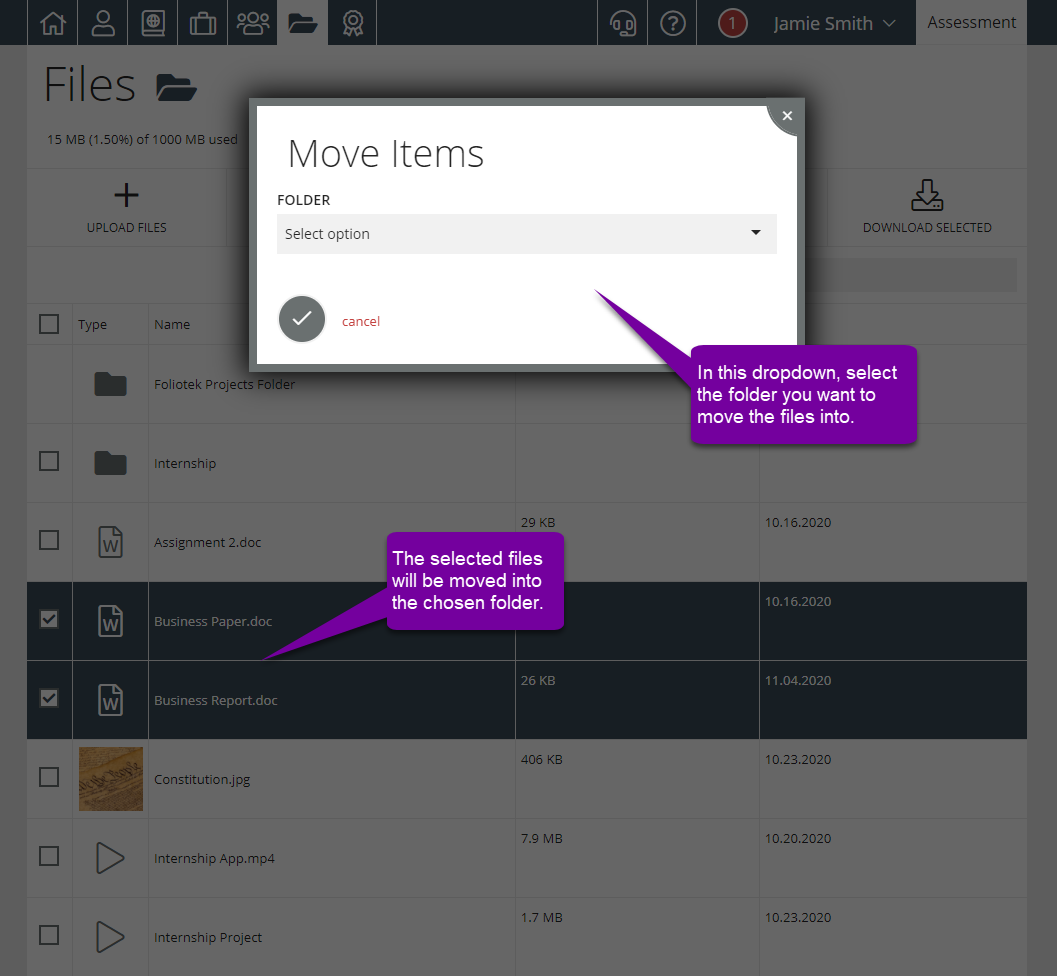
There are a few ways you can move files and folders around to better organize your Files area. One option is to use the Move Selected tool at the top of the Files area. Once you have checked the box next to the files you wish to move, simply click on the Move Selected button.
Next, choose the appropriate folder from the drop down list that appears in the pop up window and click the check mark. The selected files will move into the chosen folder. If the file is located inside a folder, one option will be Up one level. Selecting this option will move the file(s) up to the next folder or back into the files area.
You can also move files and/or folders into other folders by clicking on the name of the file or folder. When this is done, a few options appear beneath the name of the file or folder.
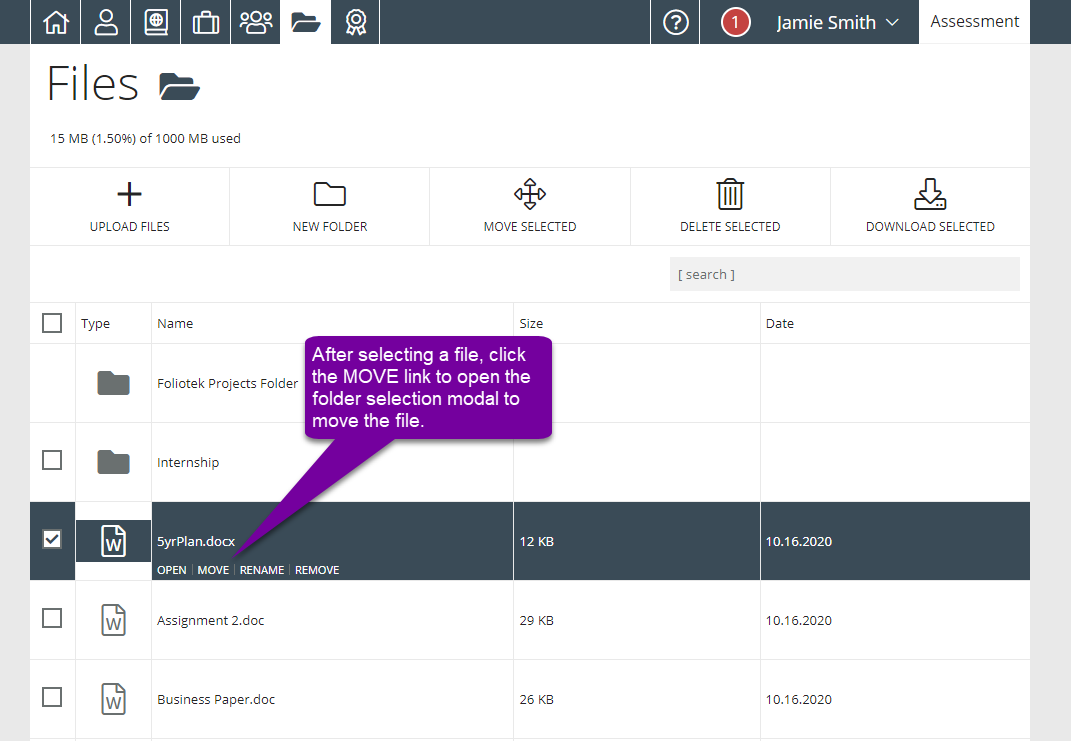
After you click on move, the same pop up appears as above and you can move the selected file or folder to another location. This method only moves one file or folder at a time.
The third way files can be moved is by dragging and dropping them into the correct folder. With this method, simply check the box next to any number of files, hover over one of the selected files until the directional cross appears then left click and hold. When you begin to drag, a box will appear that lets you know how many files you are moving. Once you are over the correct folder, the folder will be highlighted, simply let go and the files will be dropped into that folder.

Downloading Files
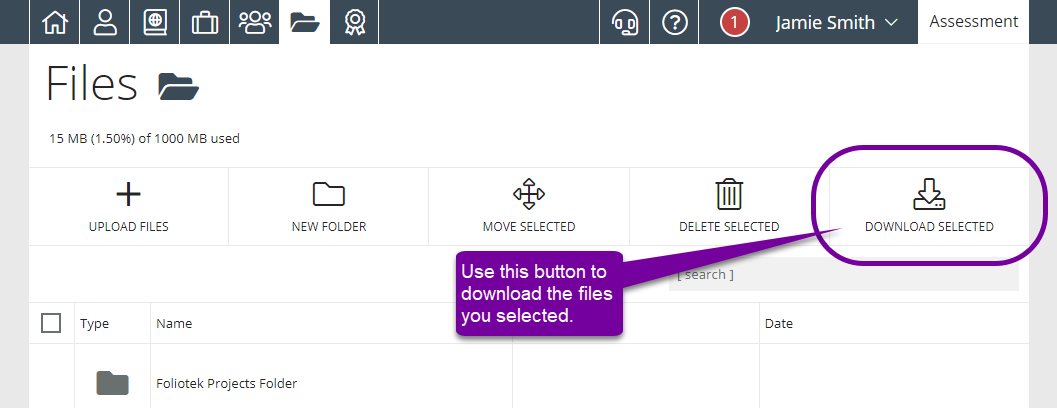
If you want to make a copy of the files you have uploaded into your portfolio account, you can do so using the Download Selected button. Check the box next to any files you want to download and then click the 'Download Selected' button. The selected files will be downloaded to your computer and placed in a zipped file.
Removing Files
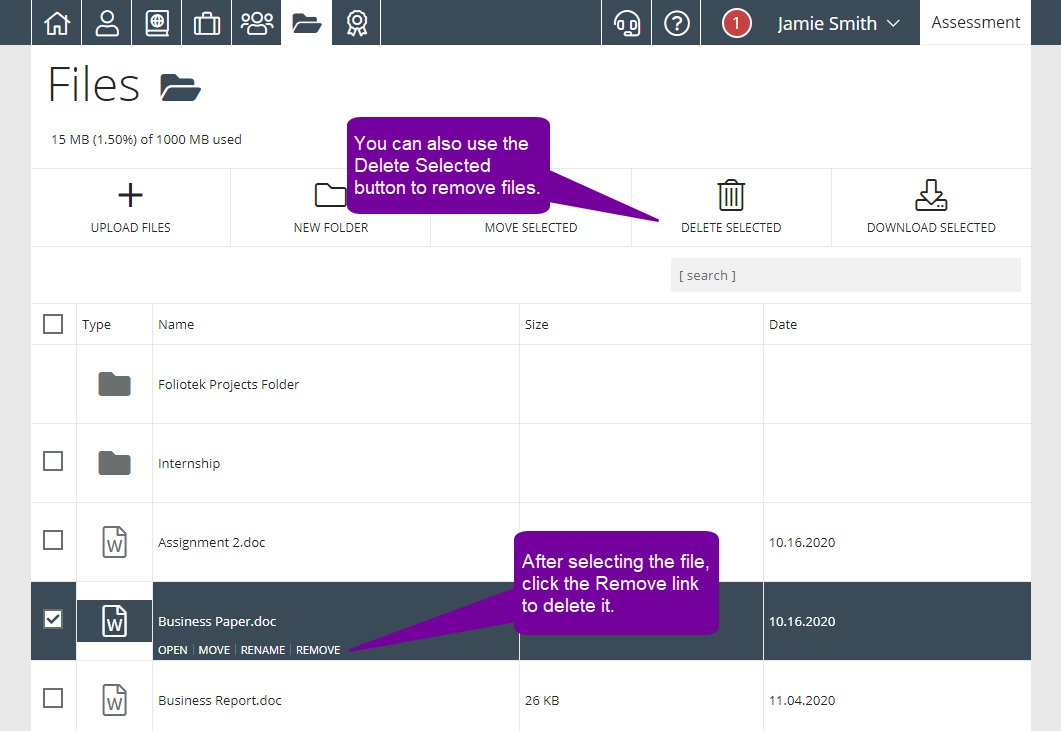
If you have uploaded files you no longer need, you can remove them from your account. Simply check the box next to the file you would like to remove and then either click the Delete Selected button at the top of screen or click remove under the file name. If you wish to remove multiple files, select all the files you wish to remove and click the Delete Selected button at the top.
These same methods can be used to remove folders. Click on the folder you wish to remove and click either the Delete Selected button or the remove link under the file name.