Adding Files to Portfolios
The Files area in the portfolio editor acts as a repository for any files you wish to upload. It can store documents, images, videos, and links to websites. The process of adding files is broken down into two parts: adding the file to your Files area and adding the file to the page.
Portfolio Editor Files Area
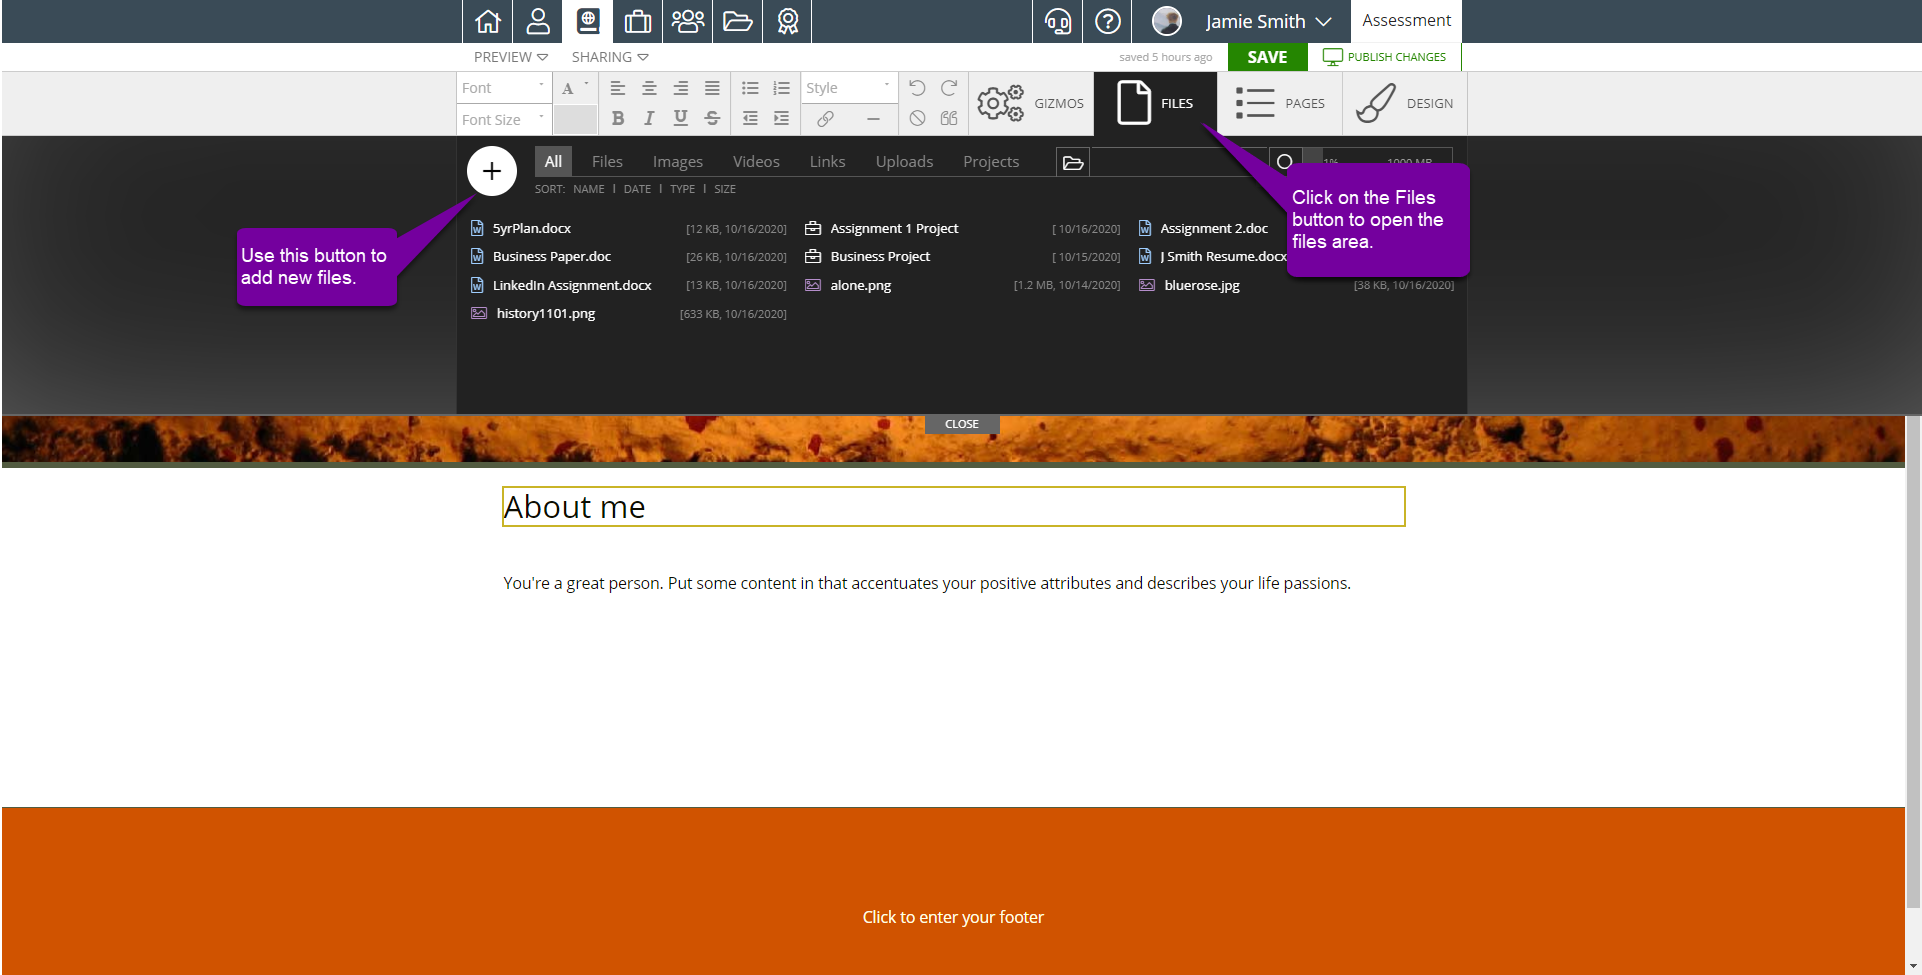
The portfolio editor Files area is directly connected to your account Files area. To add files to your Foliotek file storage area while working inside a portfolio, click on the Files tab and then the Plus button to the left side of the screen. To do this outside of a portfolio, click the Files link in the top black bar to go to the Files area.
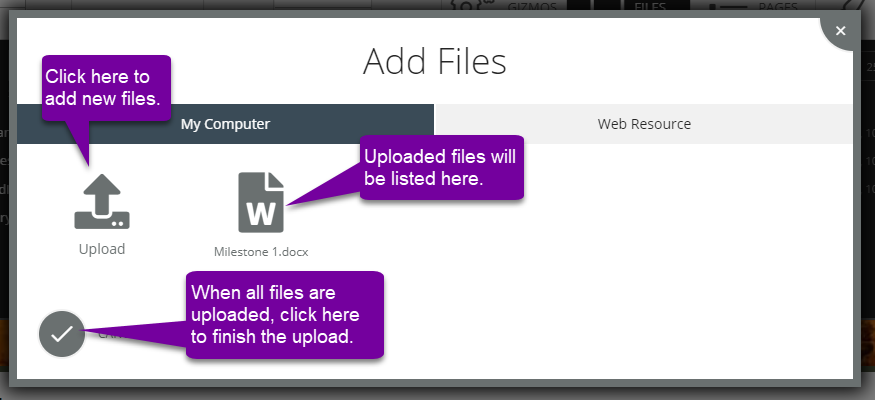
A dialog box will now appear with options for My Computer and Web Resource. To add files that are on your computer, choose My Computer, click on the upload button, and use the browser to select the file(s) you wish to add. Once you find your file and select it, you will see the file appear in the dialog box. You can remove it, add another file, or click on the checkmark to complete the process of adding the file to the files area.
Adding Video Files
One way to conserve storage space in Foliotek is to compress video files before uploading them. There are many compression tools available, but we've found Handbrake to be a good (and free) resource. This video will show you what settings to use during the compression process to get the most use out of your Foliotek storage space. Visit the Handbrake website to download the tool.
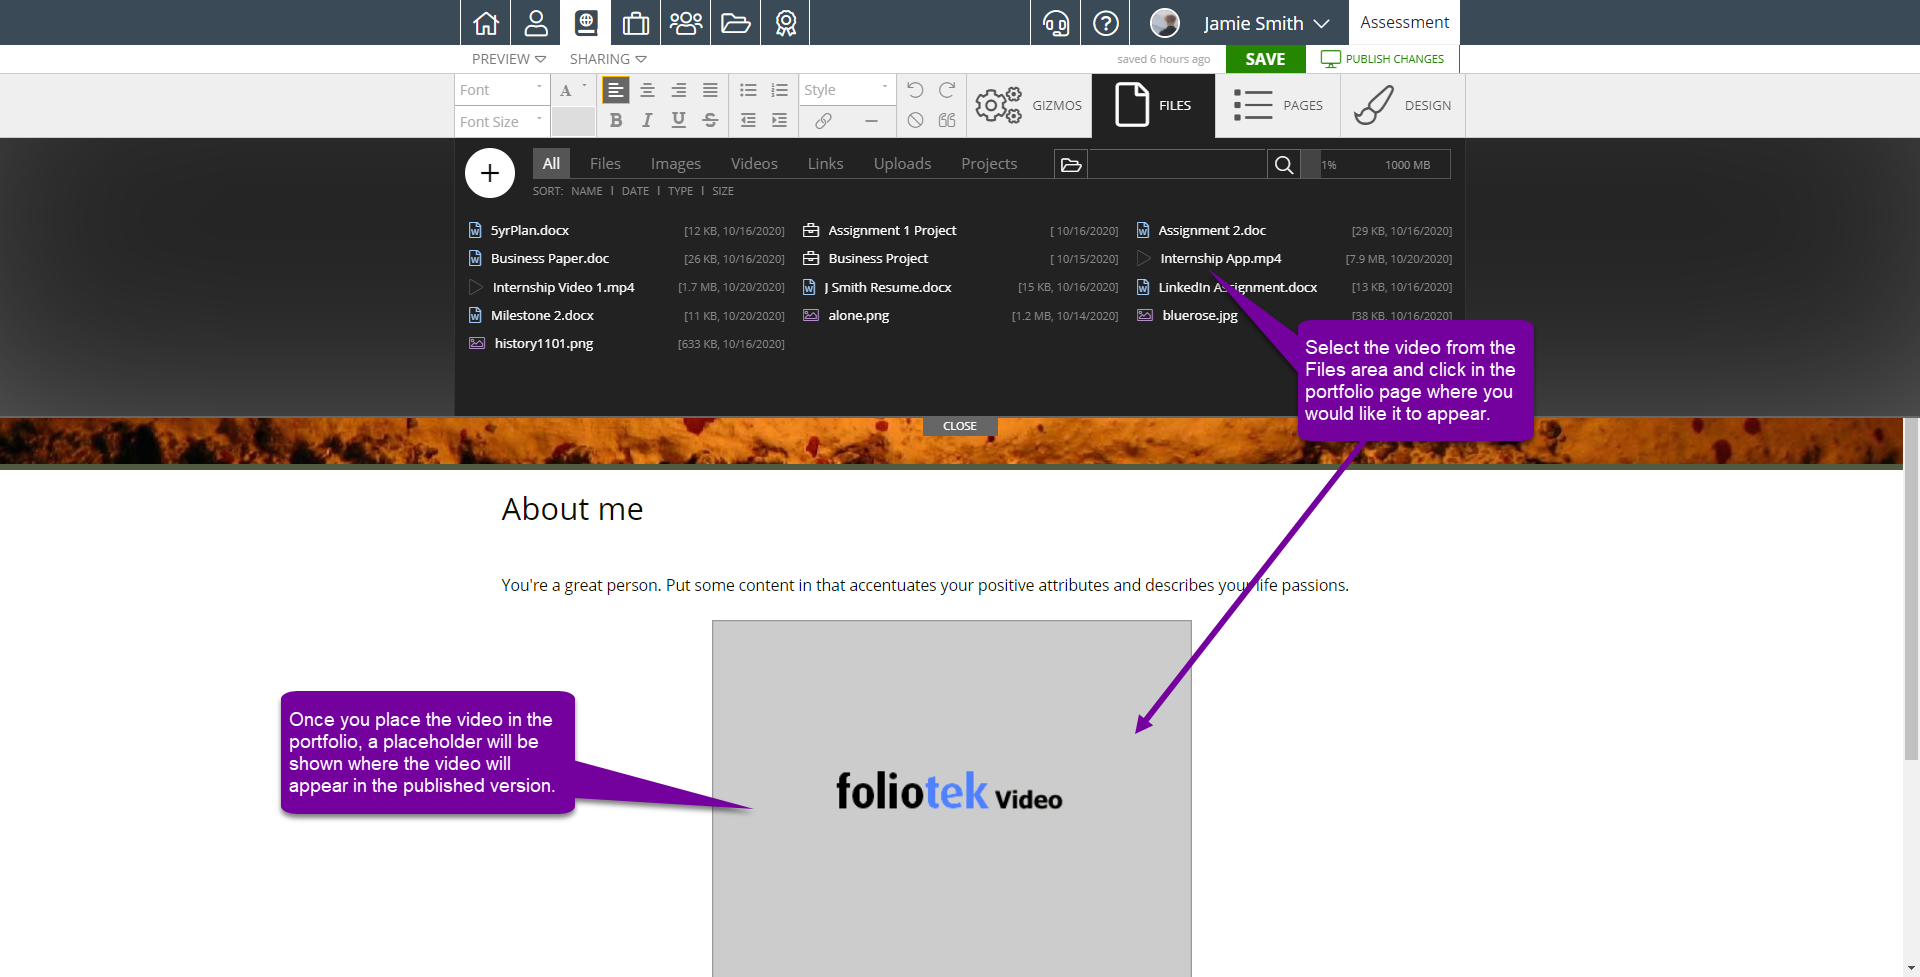
Once the video file has been uploaded into your Files area, you can add it to the portfolio page by simply selecting it and dropping it into the page like any other file. A video placeholder will be added to the page to show you where the video will appear in the published version of the portfolio.
Adding Web Resources
To use a file that is on a different web page, you may click Web Resource then copy the URL into the URL box and give the web resource the name you would like the it to have in the Name box.
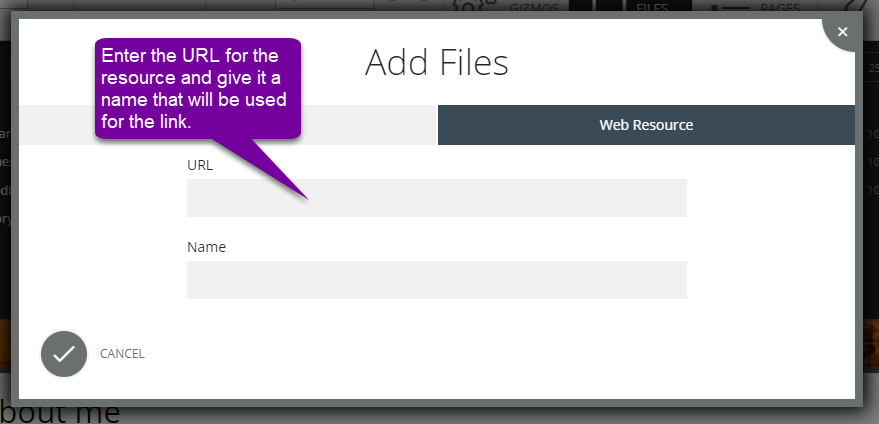
You may now click the check mark button and the resource will be available in your file storage area.
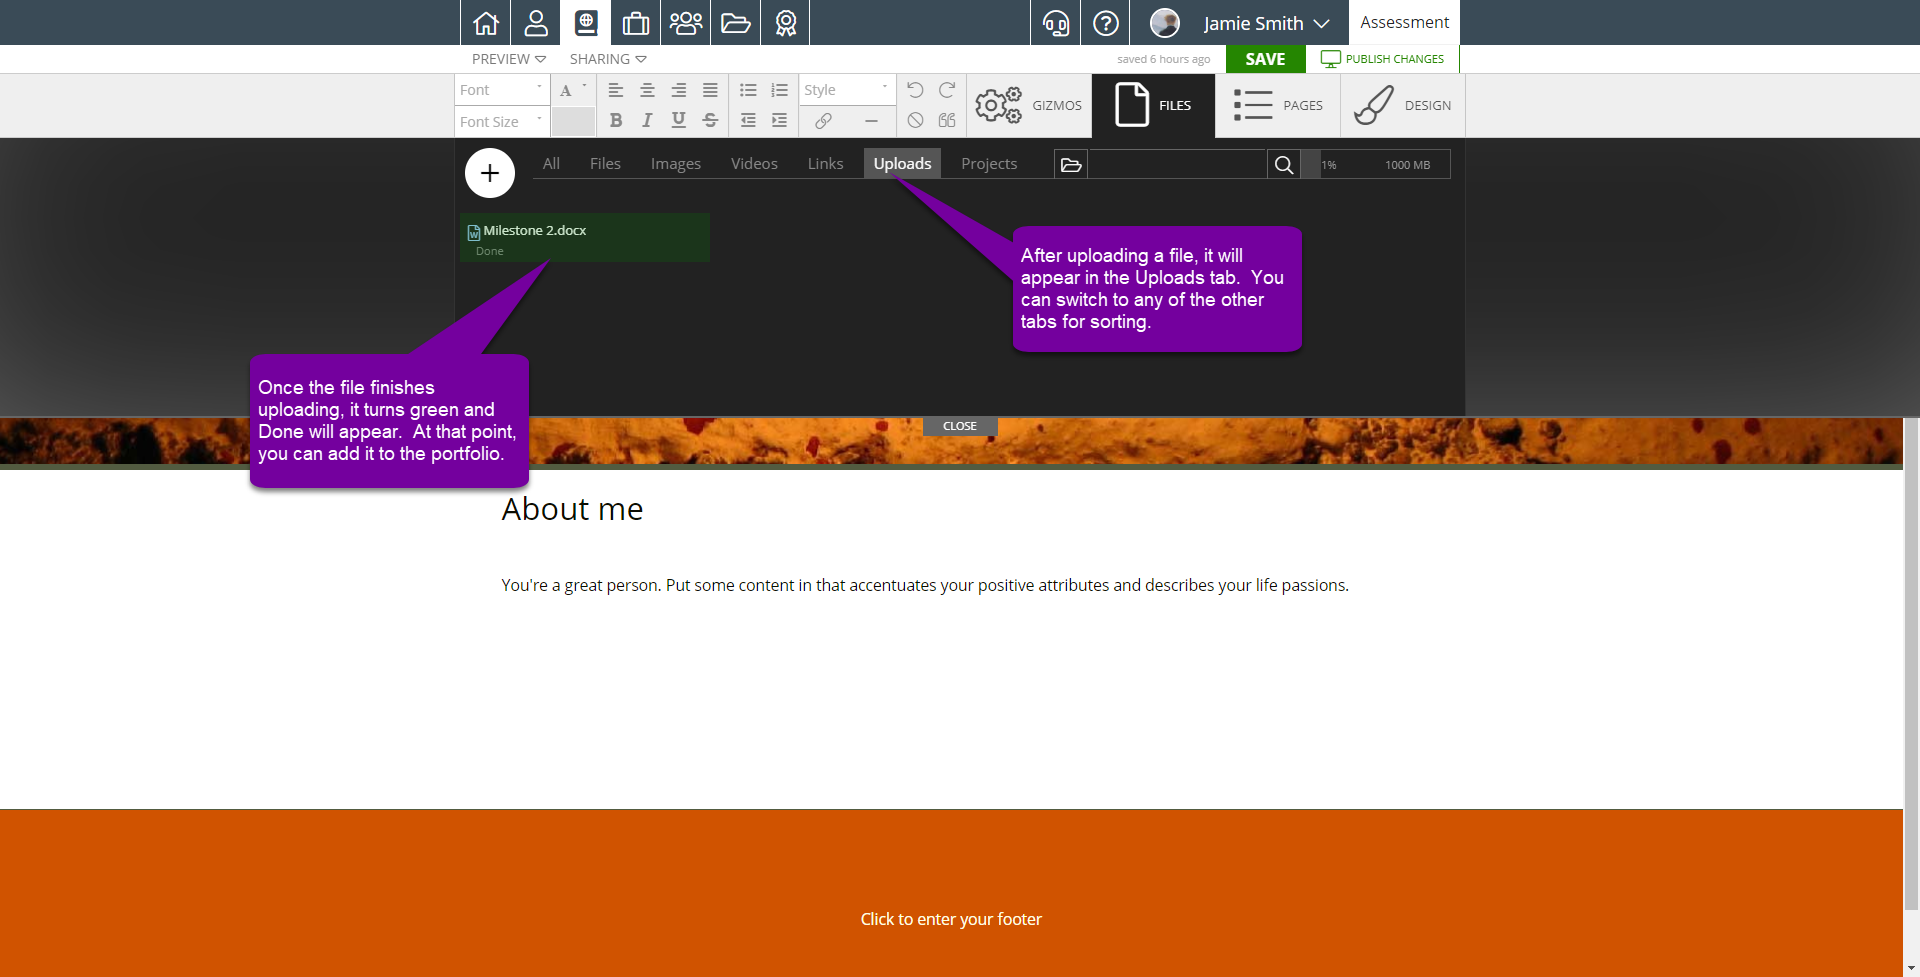
After Your Upload
Your file storage area will now have Uploads selected. To view all files again, instead of your recent uploads, click All in the tab list.
Adding Files to a Portfolio
To add a file in your file storage area to your presentation portfolio you need to first find the file that you want. You can do this by browsing your files or search for a particular file using the search bar located in the top right corner of the files section.

Now that you have found your file, click the title to select it and your mouse will be tailed by the file name.
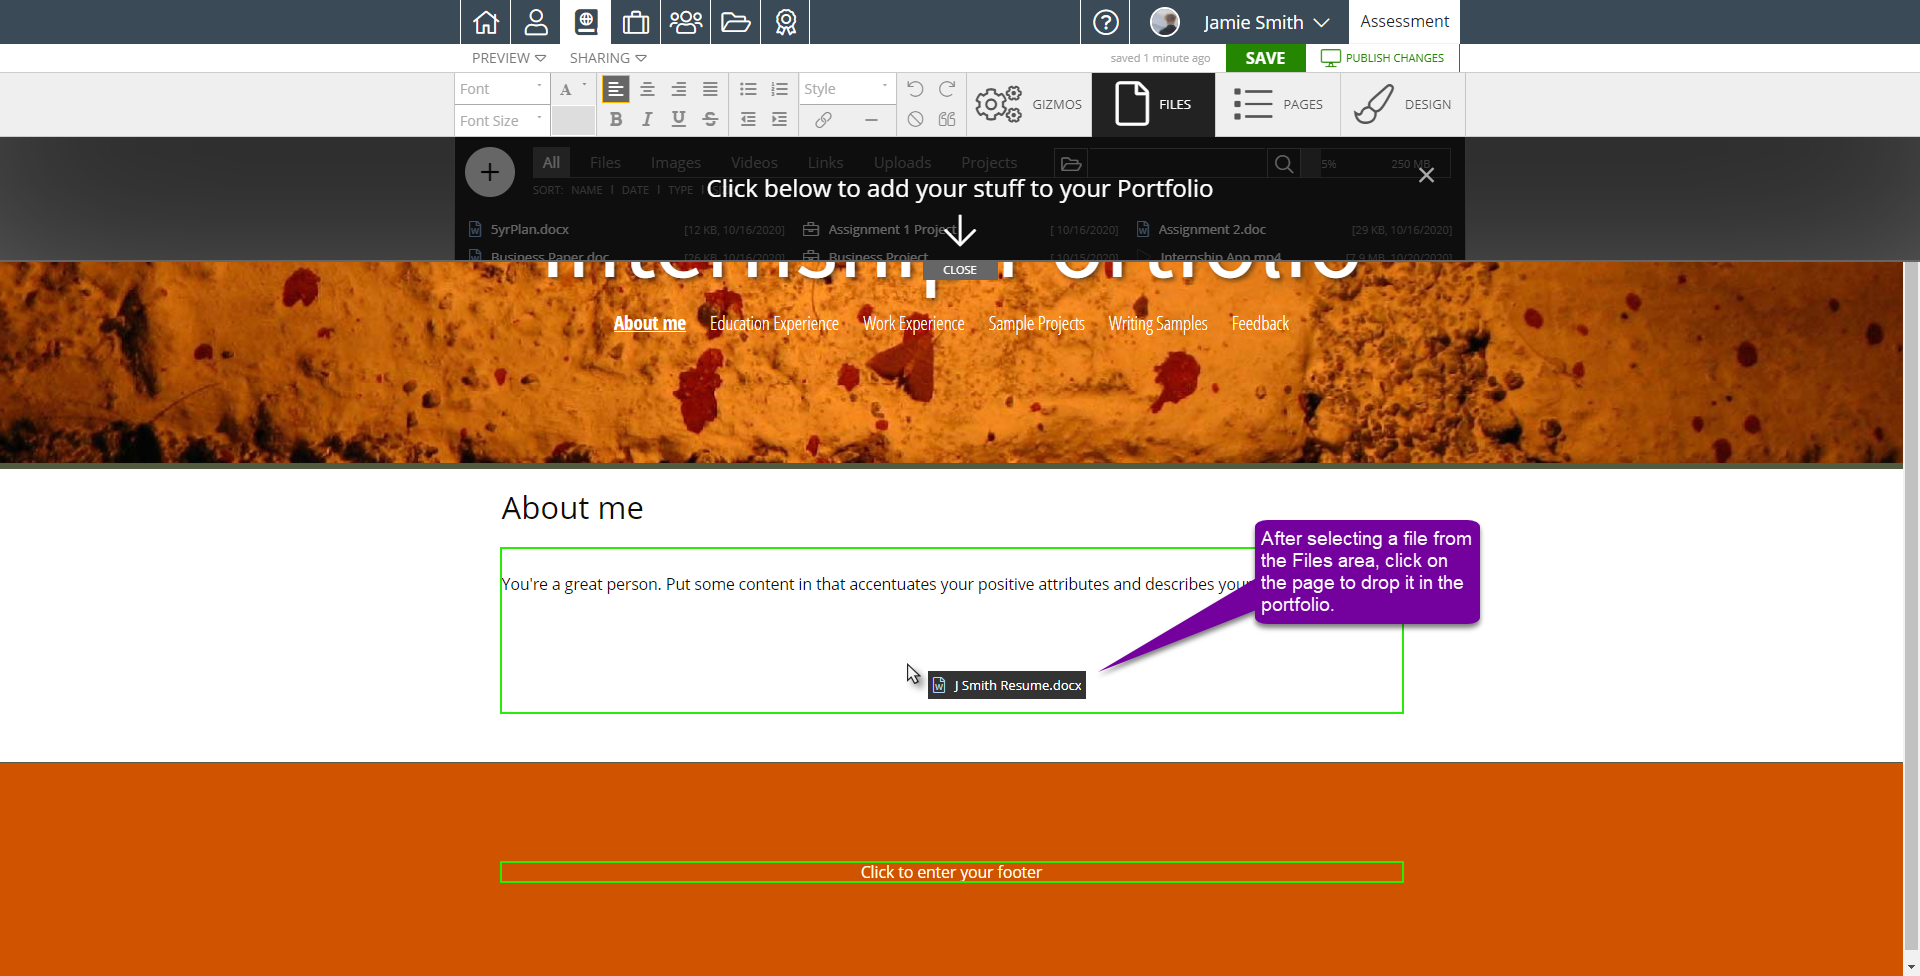
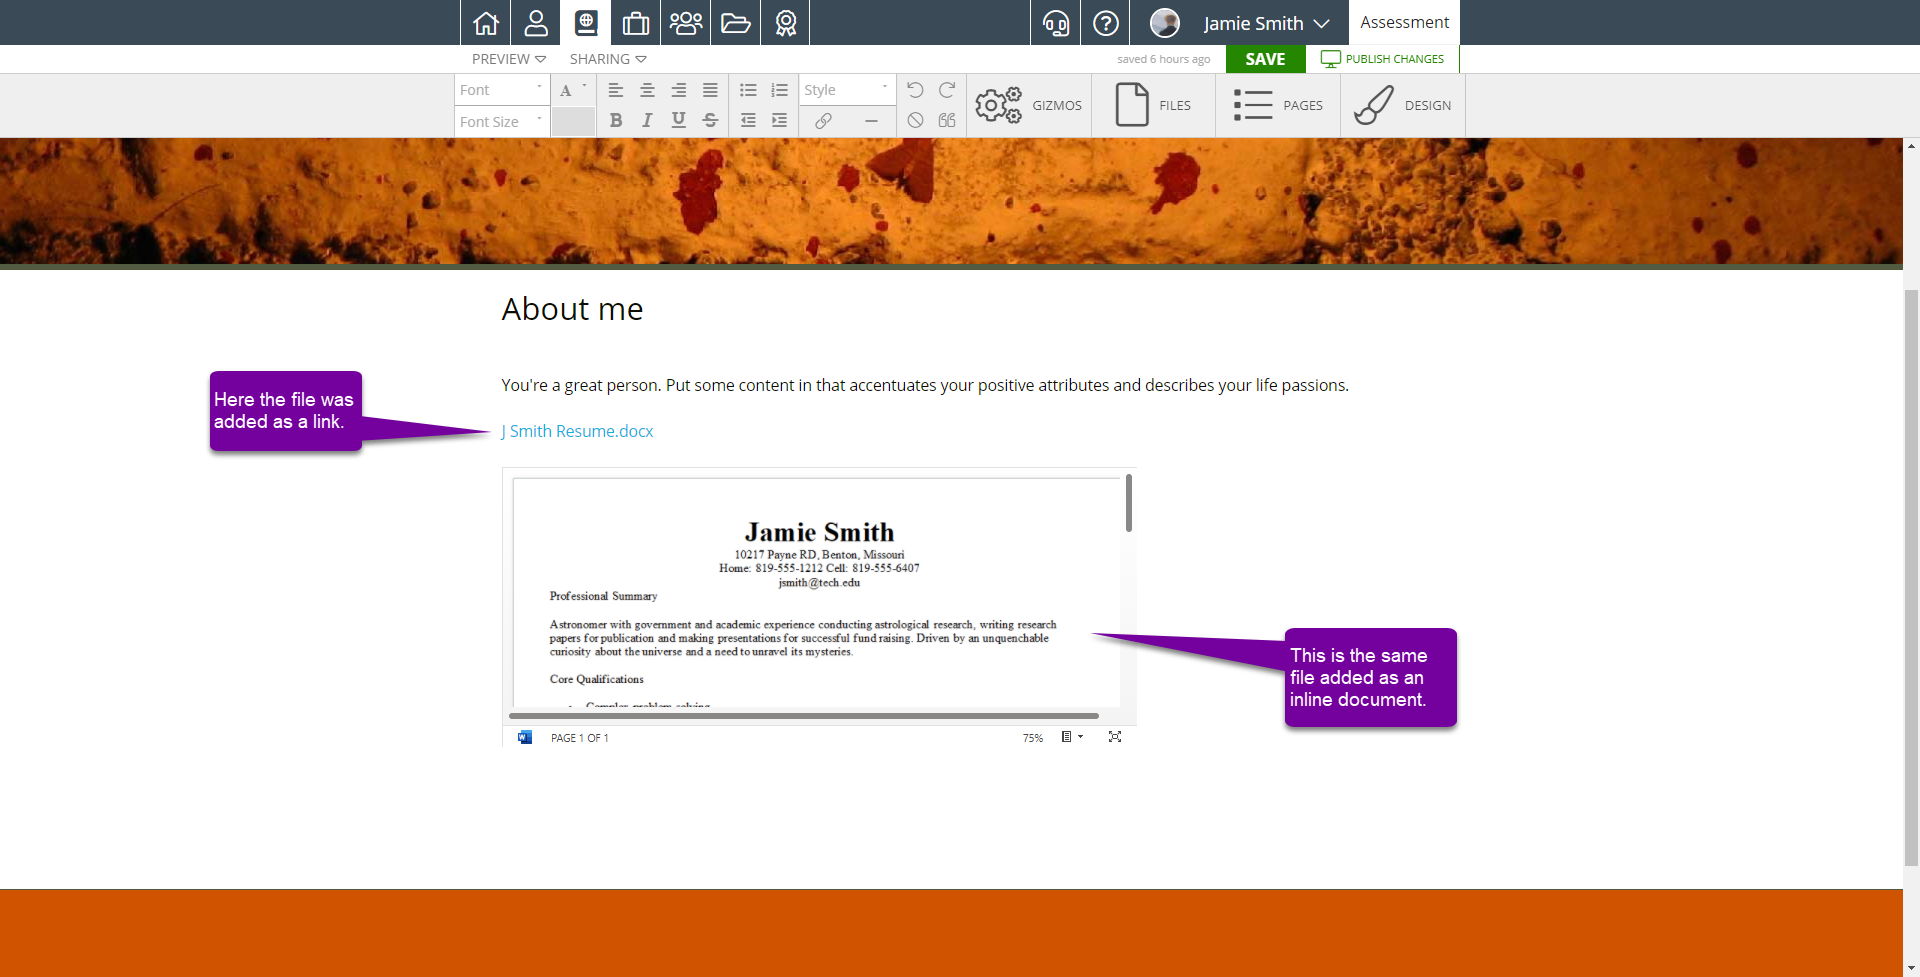
Click inside the green Main box to add the file to your page. DO NOT add your file into one of the smaller boxes at the bottom or along the sides. Placing a file in the footer, minor, or menu boxes makes that file visible on every page of the portfolio. Once you add the file, you will get the option to display it as a link or inline.
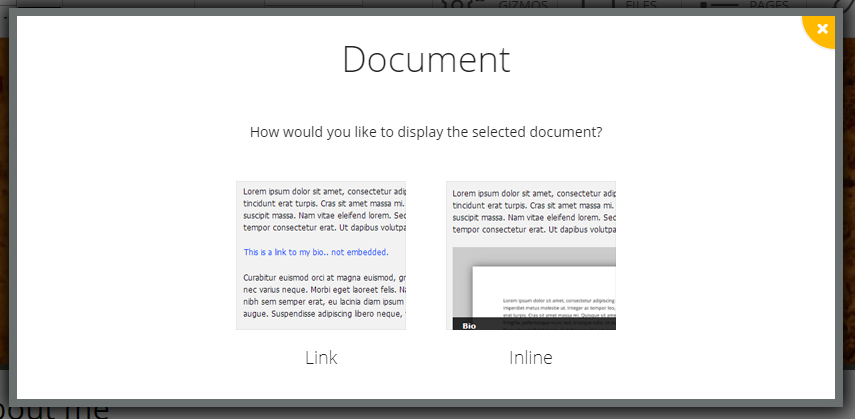
Using a link makes the file downloadable by a single click. The inline view offers tools to adjust the size of the preview so it can be read directly on the page. When clicking on the file, it opens in your browser and has the option to download it. See the options below.